


Introduction
This blog post is part of a series of blog posts based on my experiences building a set of Dev Ops processes for deploying Power Platform solutions using Azure Dev Ops.
I recommend starting there if you have not read the first post in the series.
This post will discuss the pre-requisites required to set up Power Platform Dev Ops. Then it will show you how to setup these pre-requisites.
So, let’s get started!
Firstly, the process to deploying Power Platform solutions into an environment relies on a couple of things:
- An identity to authenticate with the Power Platform environment
- Access to the Power Platform environment
- A connection to the Power Platform environment for Azure Dev Ops
The identity that we are going to use is an Azure Active Directory Application. If you do not know what one of these is, then read this. Briefly, it is like a service account and represents an application within Azure which can be given permission to access resources in Microsoft 365 and Microsoft Azure.
I will refer to this Azure AD Application as the Power Platform Deployment Engine. This is the terminology that we use at iThink 365.
Secondly, this identity needs to be able to access the Power Platform environment, so we will discuss the steps to do that.
Finally, our Azure Dev Ops environment that is going to be running the build and release processes needs to be able to connect to the Power Platform environment using the Power Platform Deployment Engine. In Azure Dev Ops this is achieved using a service connection.
Setting up the Power Platform Deployment Engine (Azure Active Directory Application)
To set up the Azure AD Application, do the following:
- Browse to https://portal.azure.com
- Choose the Azure Active Directory resource
- Click on Application Registrations
- Add a new Application Registration, click New Registration
- Fill in the details as shown in the screenshot below
- Name: Power Platform Deployment Engine
- Supported account types: Single Tenant
- The redirect URL is optional. At iThink 365 we set up it up as our website, https://www.ithink365.co.uk.
- Click Register when ready

Next, set up the permissions that the app required:
- Browse back to the application
- Click API Permissions
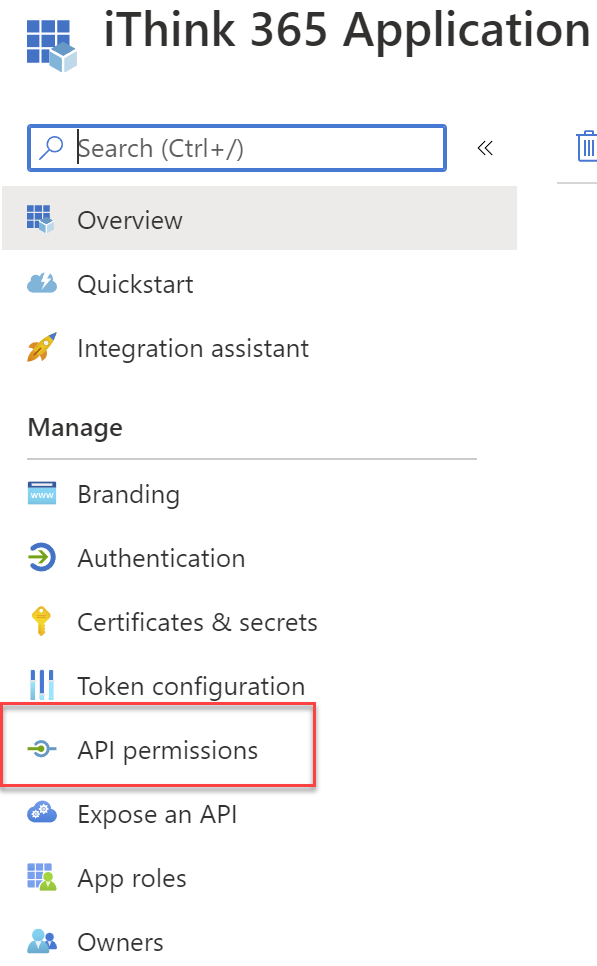
- From the API permissions page
- Click Add permission
- Choose from the right-hand task pane “Dynamics CRM”
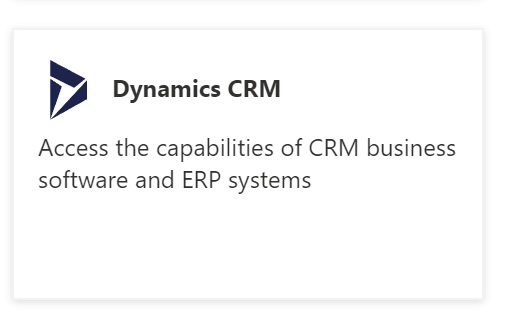
- Choose delegated permissions
- Choose user-impersonation
- Click add permission

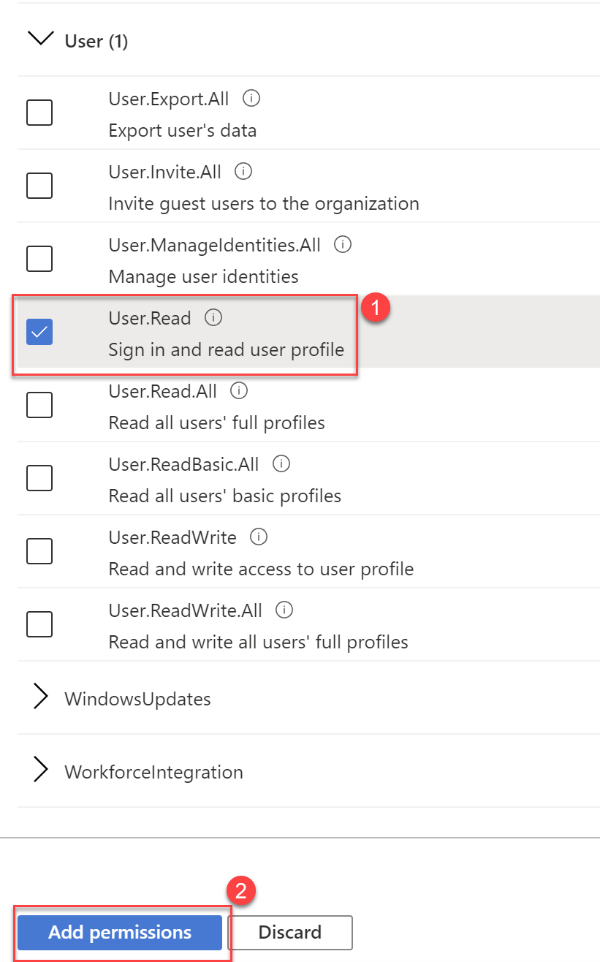
- Add another permission, this time for Microsoft Graph
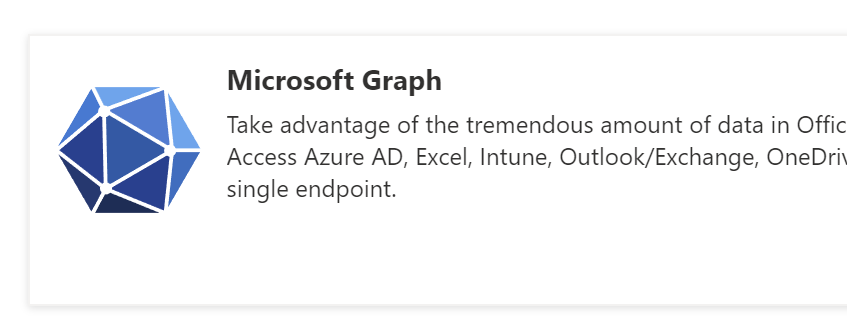
- Find the User group
- Choose User.Read
- Click Add permission
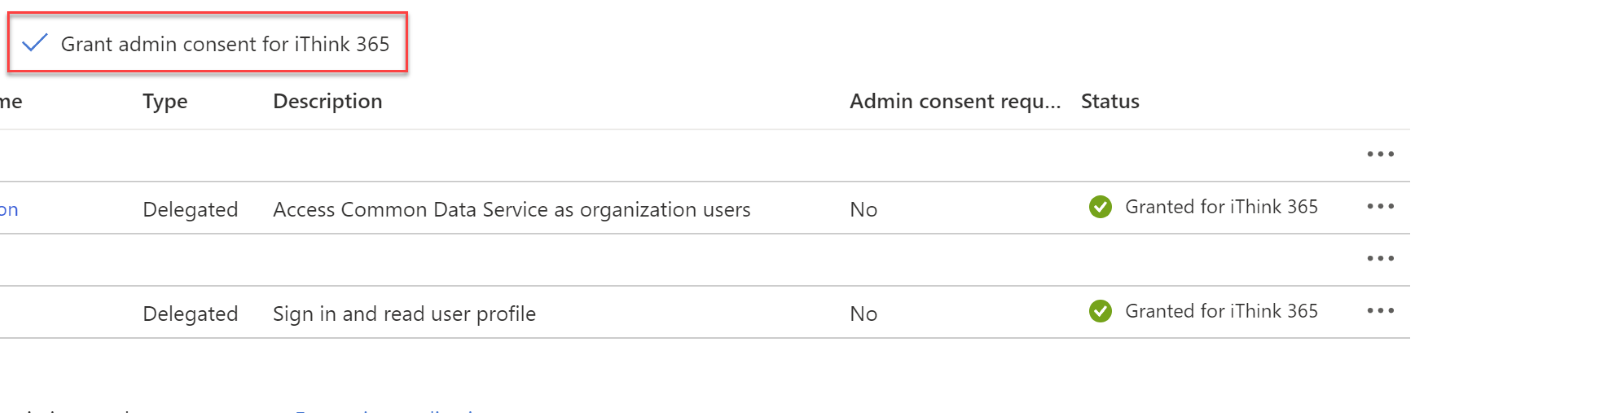
Once the permissions are set up then the permissions need to be granted for the tenant using admin consent.
To achieve this you need an account with the Global Admin role assigned.
- From the API permissions screen
- Click Grant admin consent for [tenant name]
- Sign-in and consent to the application.
The last step is to create a client secret.
- Click Certificates and Secrets

- Click New Client secret
- Fill in a description and set the lifetime for 2 years
- Make note of the client secret that has been created as you will need it later.
The Azure AD Application configuration is complete.
Setting up access to the Power Platform environment
The next step is to give the Power Platform Deployment Engine access to the Power Platform environment.
The process to do this has the following steps:
- Add an application user to the Power Platform environment.
- Set permissions for the environment for the application user.
Let’s get started.
To do this do the following:
- Browse to Power Platform Admin Centre (https://admin.powerplatform.microsoft.com/).
- Choose the Environment you which to deploy to.
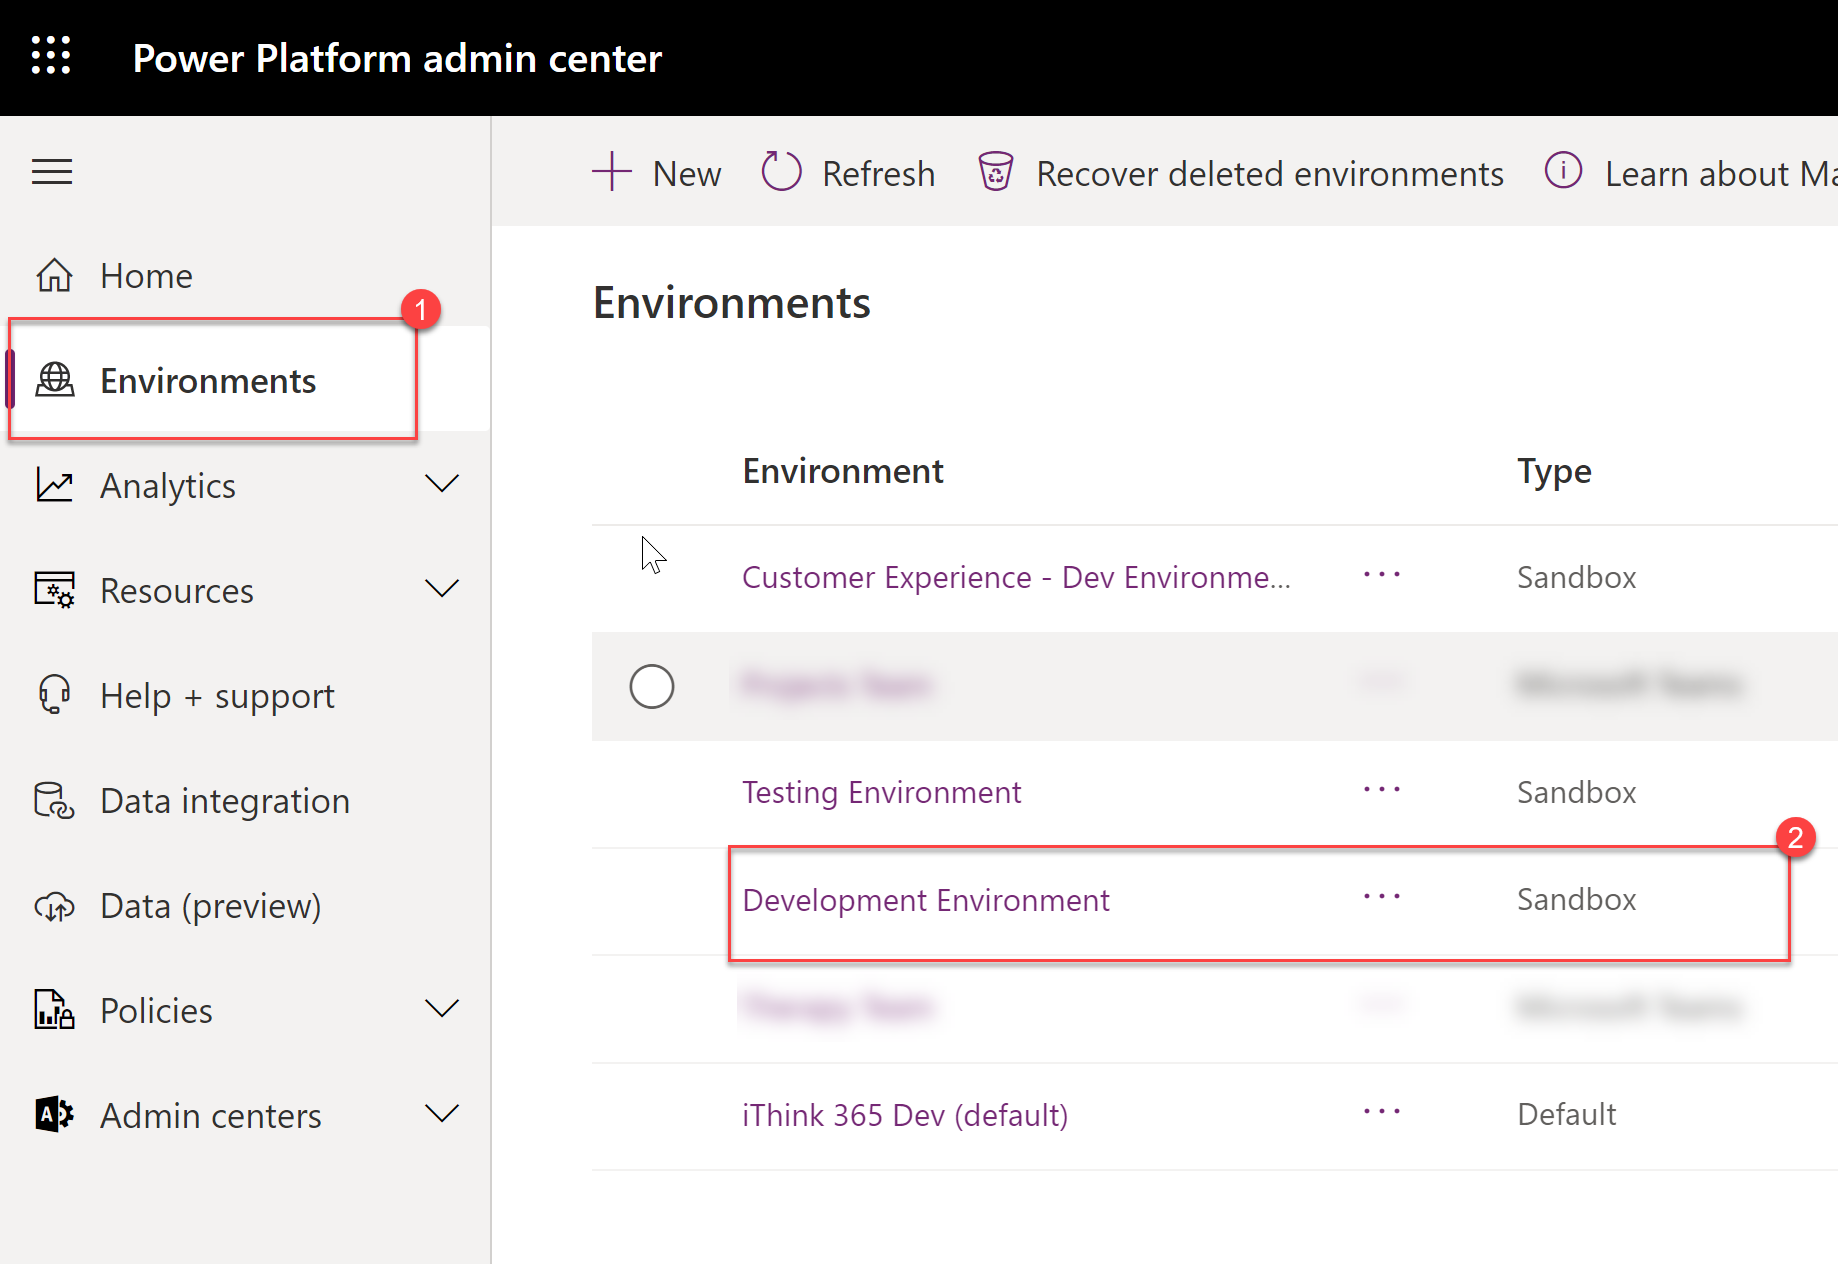
- Click on the Environment name

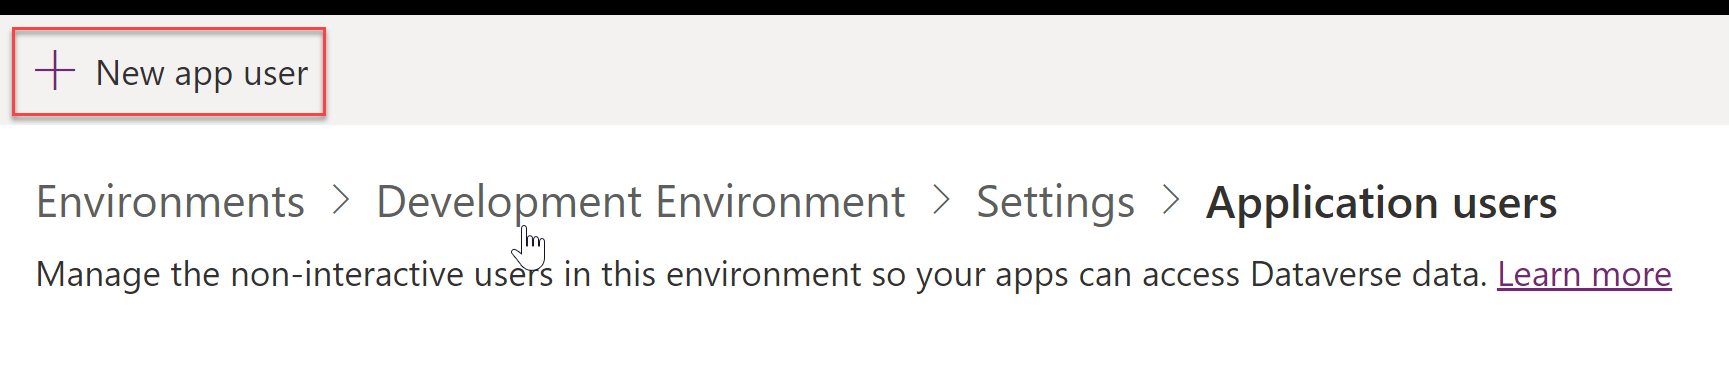
- Click Settings
- Click Users + Permissions to expand
- Click Application Users

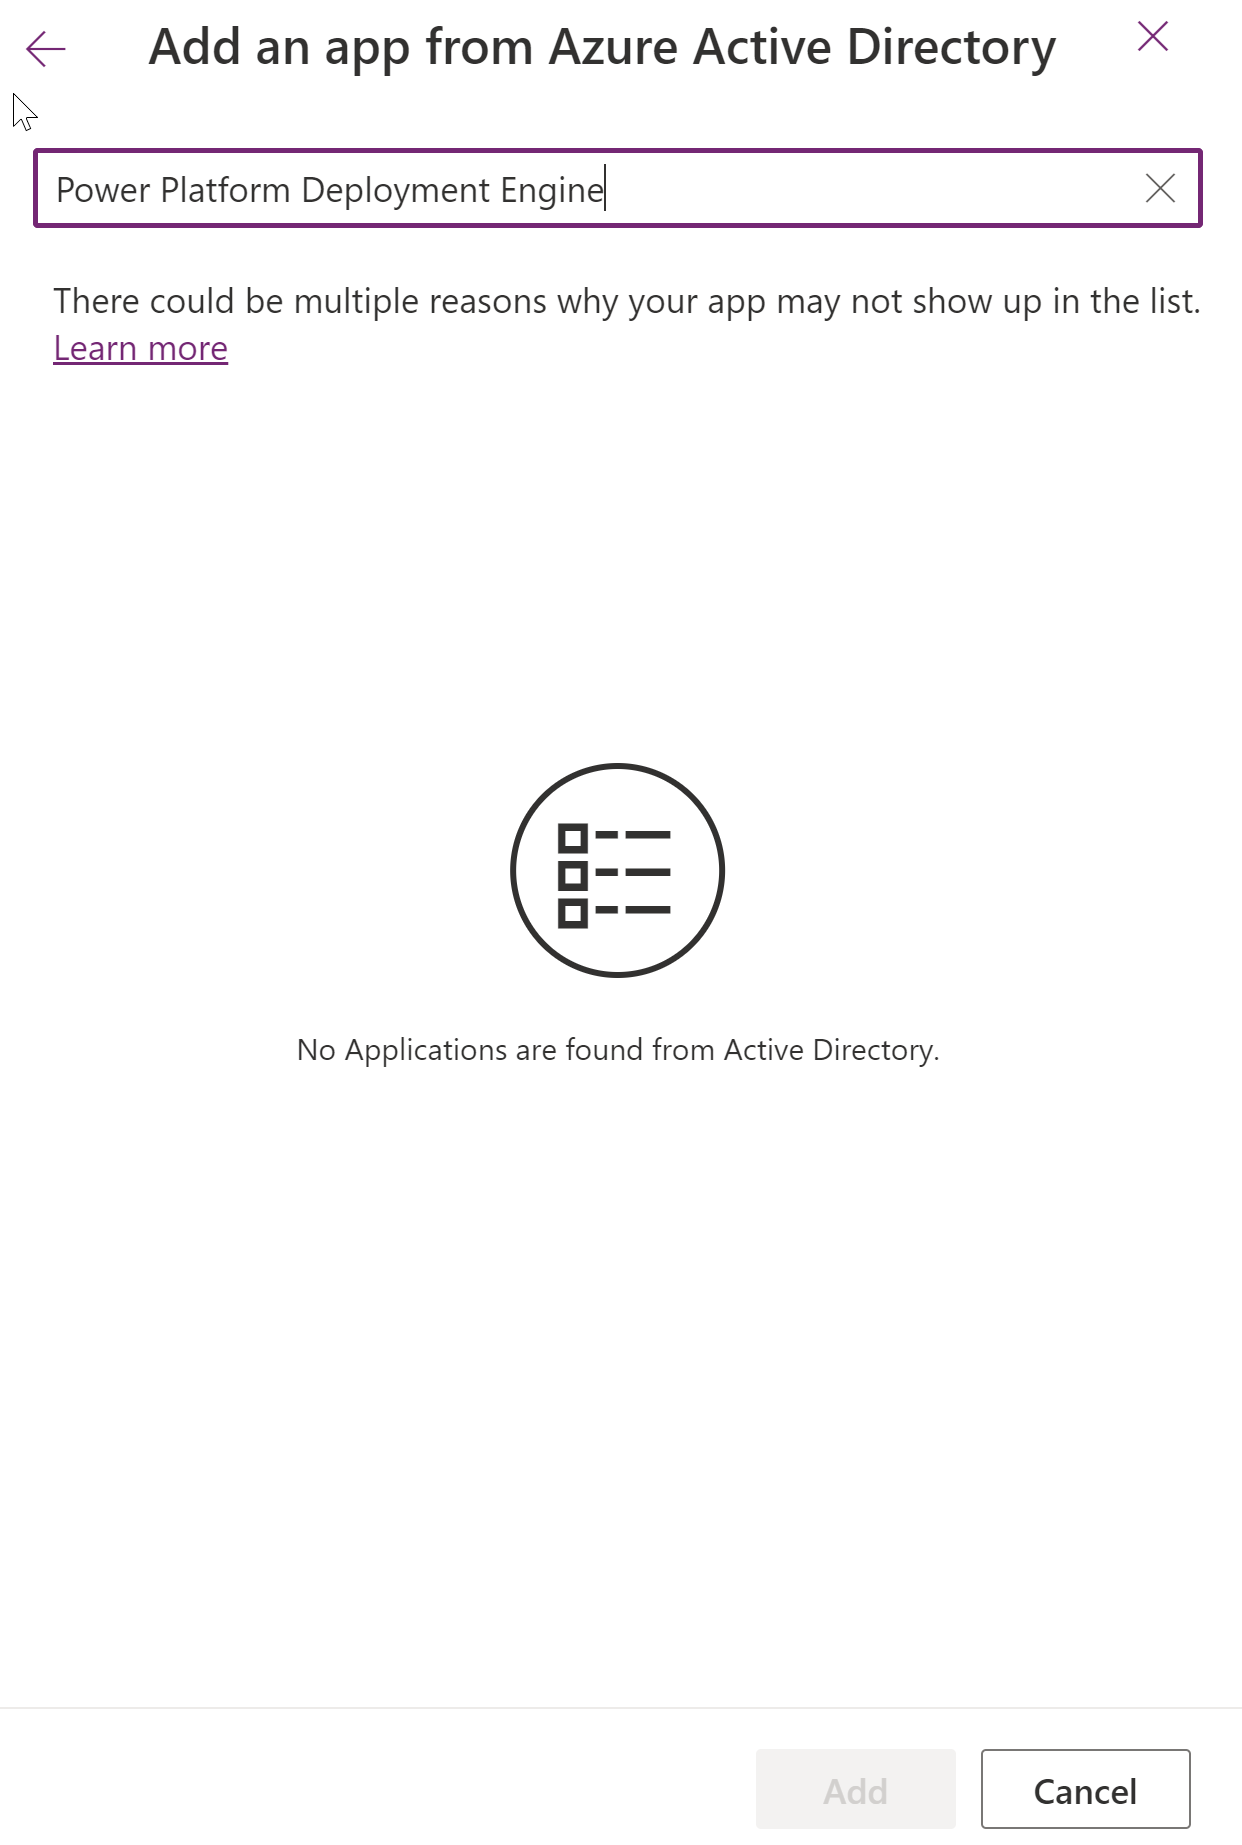
From the application user screen click New app user.
- Click Add an app
- Search for the Power Platform Deployment Engine app
- Select the app and click Add App
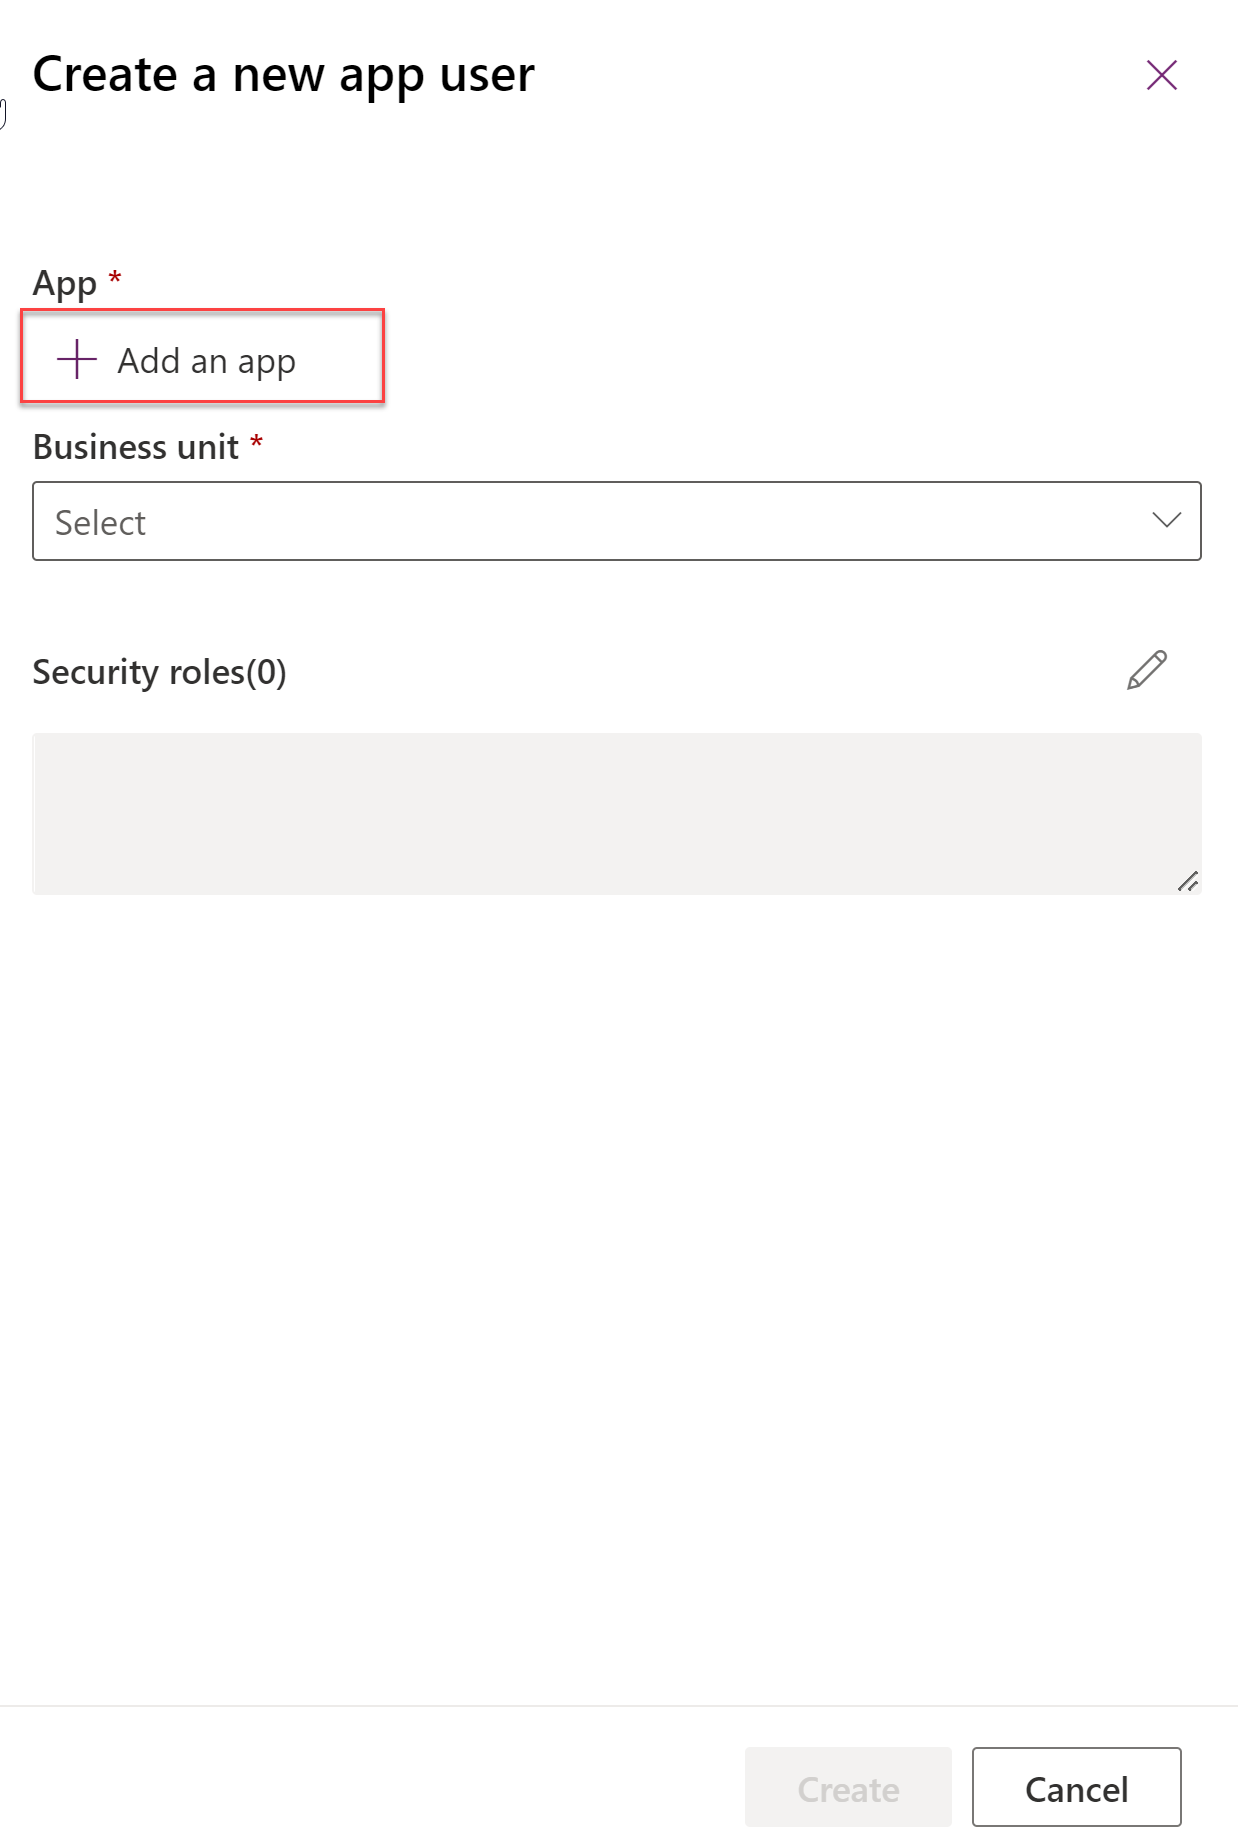
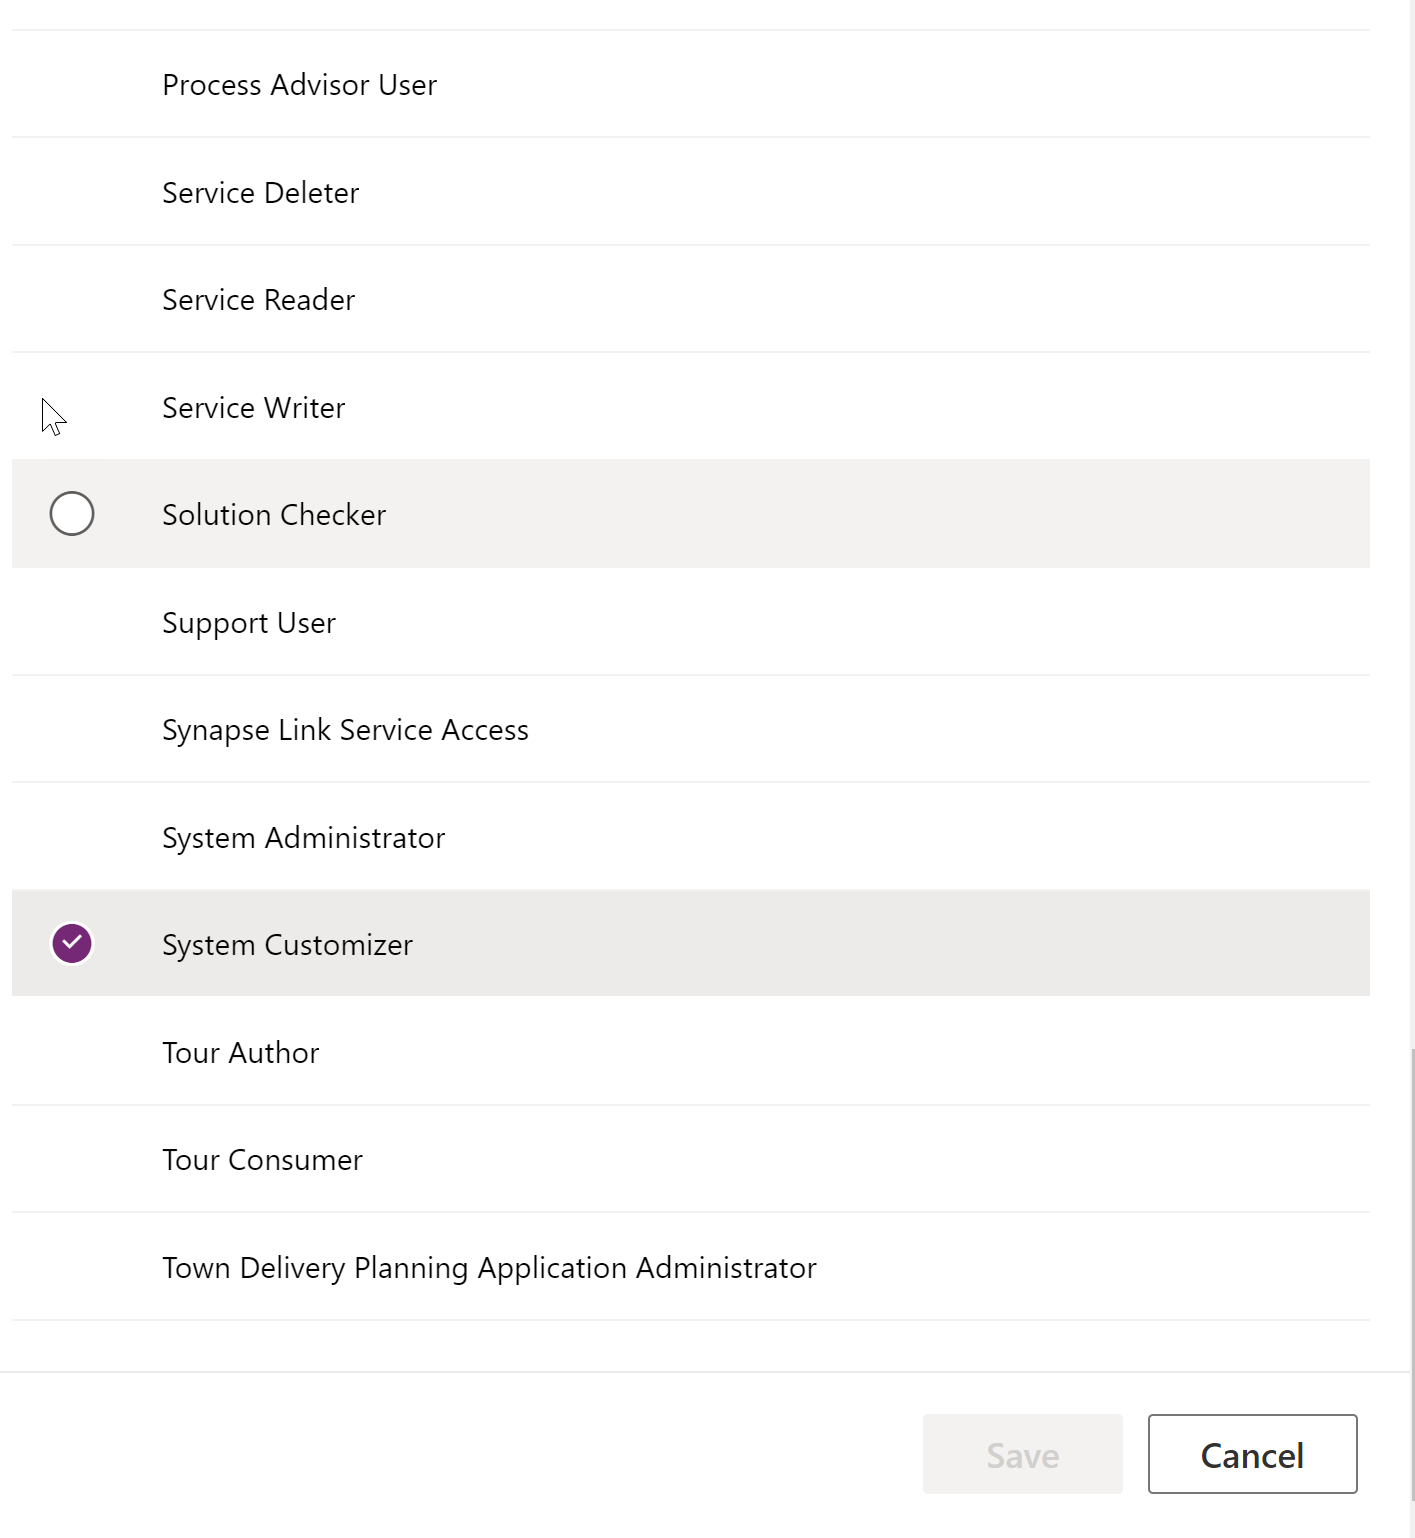
- Click security roles
- Choose System Customizer
- Click Save
- Click Create
The deployment engine now has access to the Power Platform environment. We have given the deployment engine the minimum access that we can however there are times when the deployment engine needs more permission. The time that I have seen more permissions is if security roles are deployed in solutions. If that is the case then give the deployment engine the System Administrator security role.
The setting up of the deployment engine will need to be repeated for each Power Platform environment that we are going to deploy to but also the environment that we are developing our solutions in.
Therefore, repeat the set up process for each of the Power Platform environments.
With all the Power Platform environments setup, the final step is to connect our Azure Dev Ops environment to the Power Platform environment using the deployment engine.
Connect Azure Dev Ops to the Power Platform Environment
The last step is that Azure Dev Ops is connected to the Power Platform environments using our Deployment Engine.
We will make an assumption that you have an Azure Dev Ops Project Collection setup already. You will also need to be an Azure Dev Ops Project Administrator for the project.
- Browse to your Azure Dev Ops environment.
- Browse to your project.
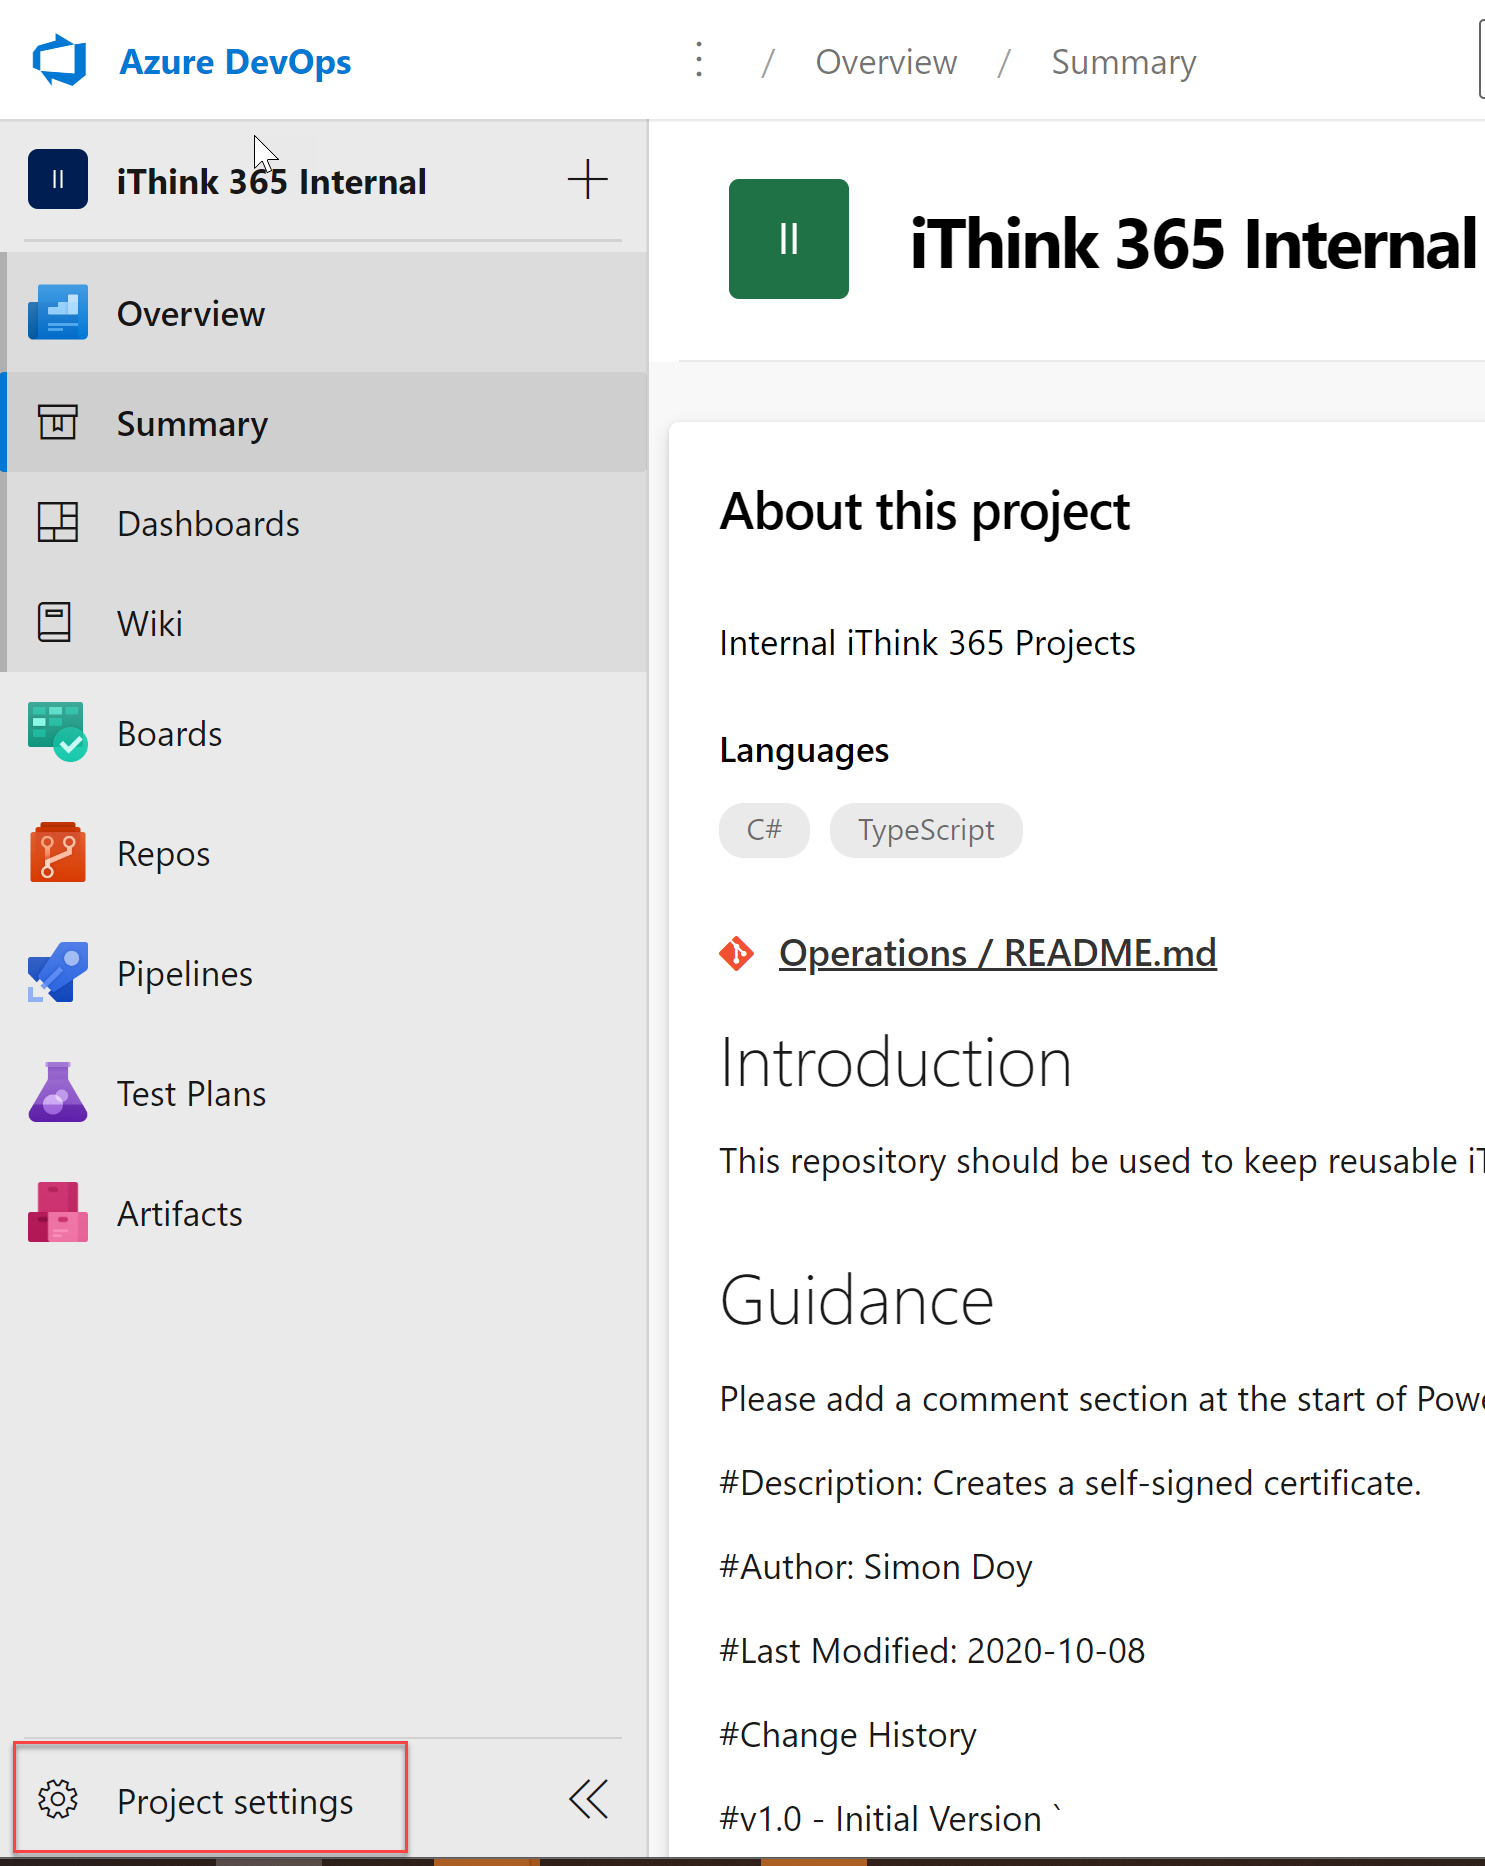
- Click Project Settings.
- Choose Service connections
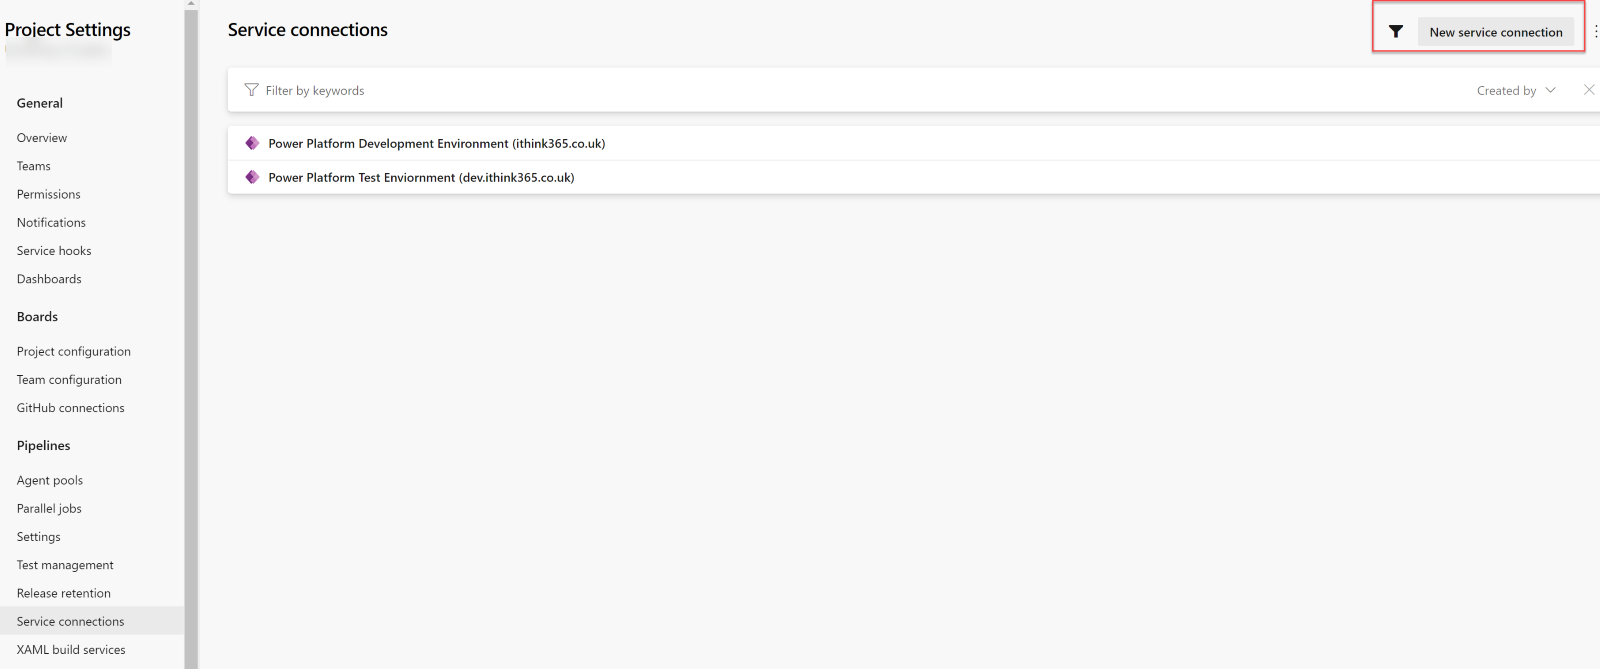
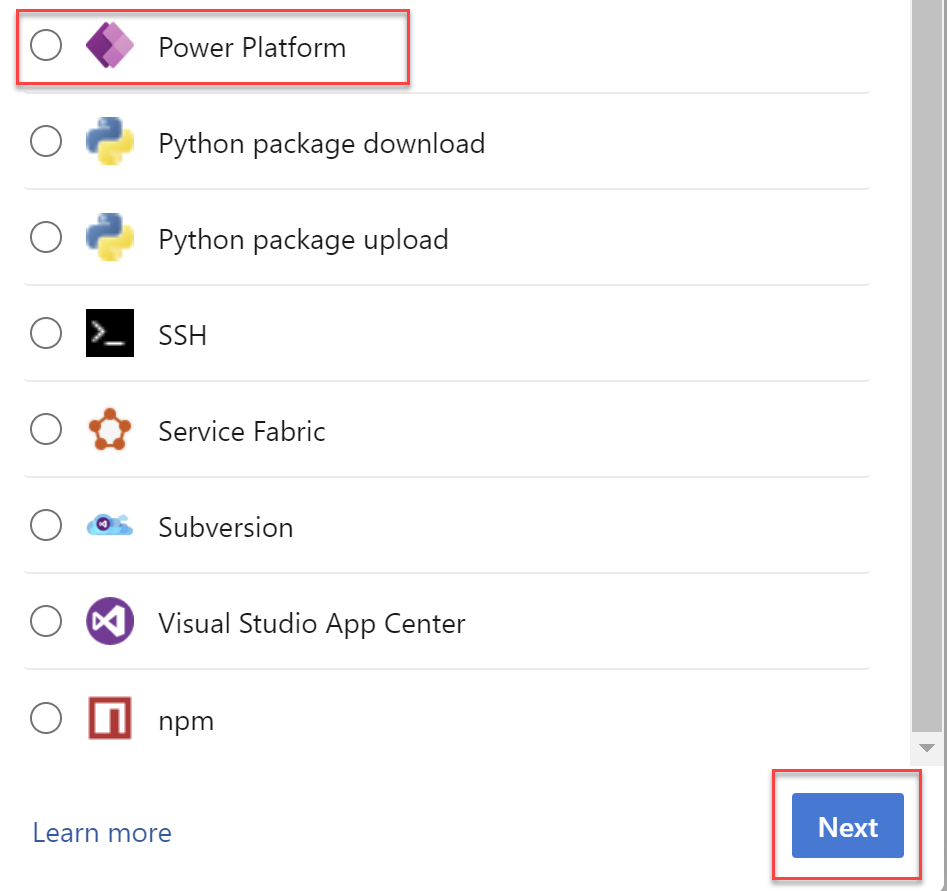
- Click new service connection
- Choose Power Platform
- Click Next
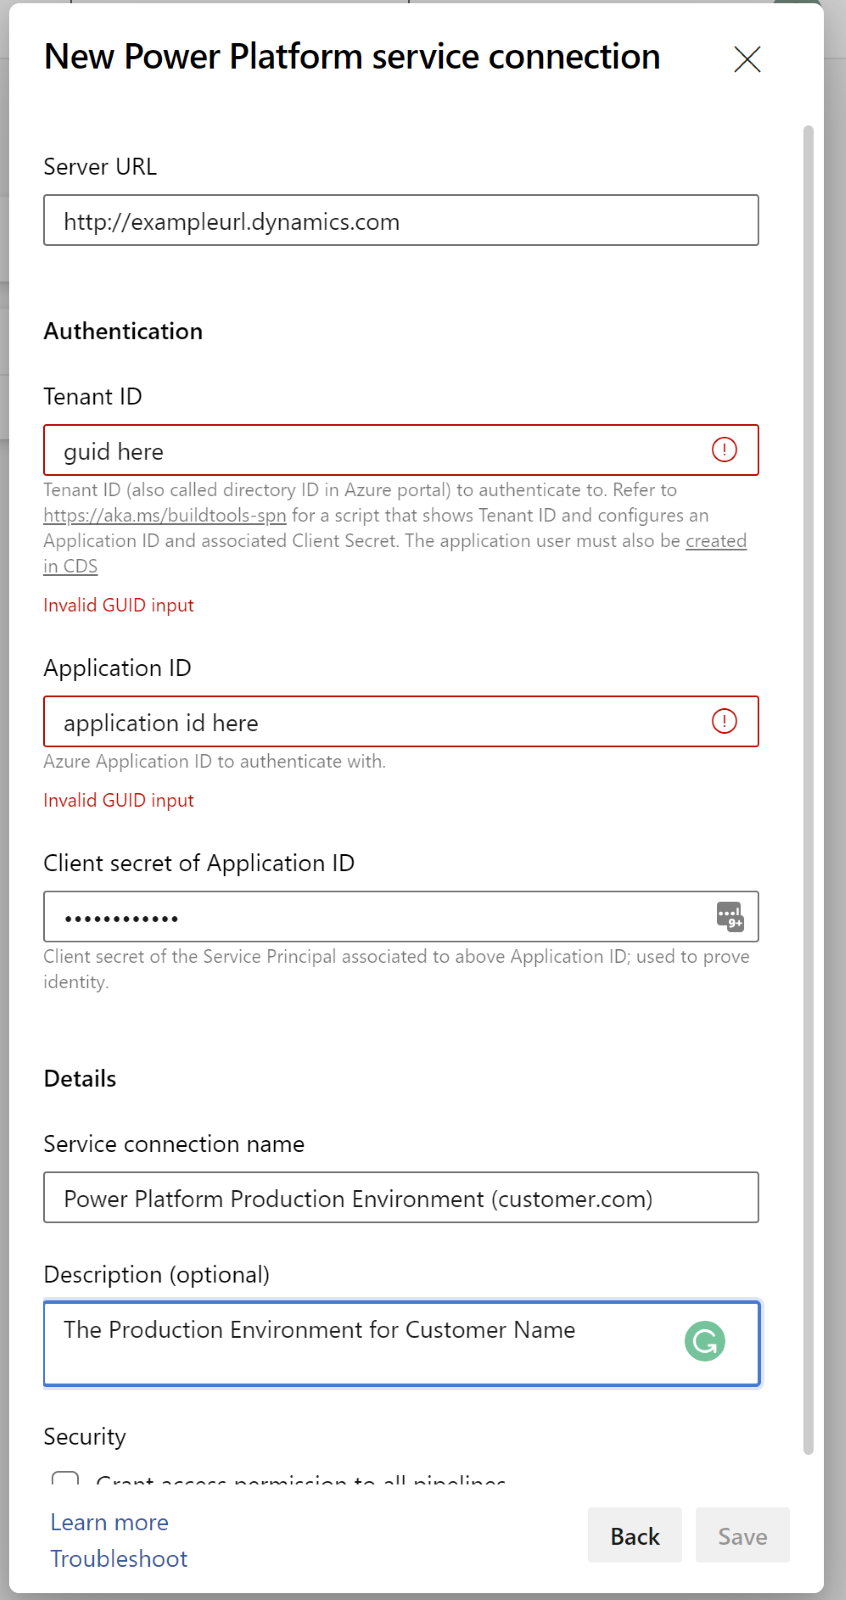
- Fill in the server URL which is called the Dynamic URL from the Power Platform environment you are connecting to.
- See Getting the URL to your Dynamics environment section above
- Fill in your tenant id (which is found by going to https://portal.azure.com. Choose Azure AD -> Properties) as the directory id
- Fill in the application id for the Power Platform Deployment Engine
- Fill in the client secret for the deployment engine which you made note of before.
- Fill in the name of the service connection.
We use the following naming convention for our service connections so that it is easy to see the different service connections.
- Use Power Platform [Release Stage] Environment ([domain.com])
- e.g. Power Platform Development Environment (dev.ithink365.co.uk)
- e.g. Power Platform Test Environment (dev.ithink365.co.uk)
- e.g. Power Platform Test Environment (customer.com)
- e.g. Power Platform Production Environment (customer.com)
- Click Save
Repeat the service connection setup for each Power Platform environment.
- Click Save to complete the configuration of the service connection
You will now see the service connection for the Power Platform you have just created.
Repeat the process to connect to all the Power Platform environments that need to be deployed to.
Getting the URL to the Power Platform environment
To get the URL for your Power Platform environment do the following:
- Browse to the Power Platform Admin Centre
- https://admin.powerplatform.microsoft.com/
- Choose Environment
- The URL shown is the Environment URL
Summary
The steps that we have been through have created all the pre-requisites for deploying Power Platform solutions using Azure Dev Ops.
In the next article, we will go through the process of setting up the build and release pipelines.

[…] Setting up for Power Platform Dev Ops […]