Introduction
I was chatting with one of our customers last week and they said how annoying it was that they could never find files that people have shared with them. They talked about how they could not remember when it was and searched through their emails, searched through SharePoint but could not remember the file name and so could not find the file.
Well, I tell you what when I showed him a little feature in Microsoft Onedrive he was suddenly much happier!
Tip
So, if you want to see files that have been shared with you and also files that you have shared with someone then check out this tip.
- Browse to Microsoft 365 (https://www.microsoft365.com)
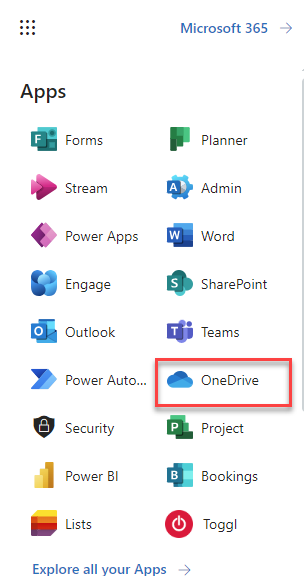
- Click on the App Waffle icon
- Click on OneDrive
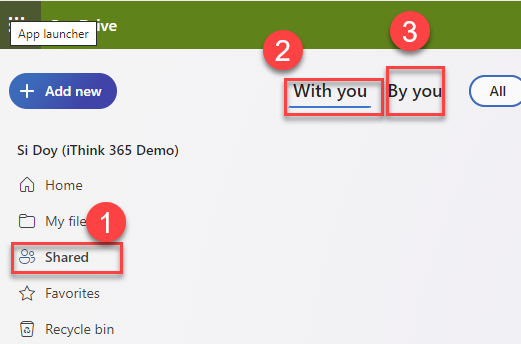
- Click Shared
- Click on With You to see files that have been shared by others with you.
- Click on By You to see files that have been shared by you to others.
The By You feature is great if you wish to stop sharing a file with others.
To stop sharing:
– hover over the file that you wish to stop sharing,
– click the … and choose the manage access option.

- Click on Stop Sharing button.

Hope that helps.